
Why photo evidence matters before money is released
In a normal escrow transaction, the buyer pays into a secure holding account and the funds are only released once delivery is confirmed. That means photo evidence is often the first line of support if there is a dispute about condition, missing items or whether work was completed as agreed.
Clear photos do not replace the agreement between buyer and seller, but they do help show the state of the item at handover. A blurry picture of a parcel on a chair is not much use if the claim is about damage to a screen, broken packaging or a missing charger. If both sides know what to capture from the start, the inspection period becomes much easier to manage.
For anyone trading online across Johannesburg, Cape Town, Durban, Pretoria or Gqeberha, the same rule applies: take pictures that answer the basic questions of what, where, when and in what condition.
Take the right photos at handover and on opening
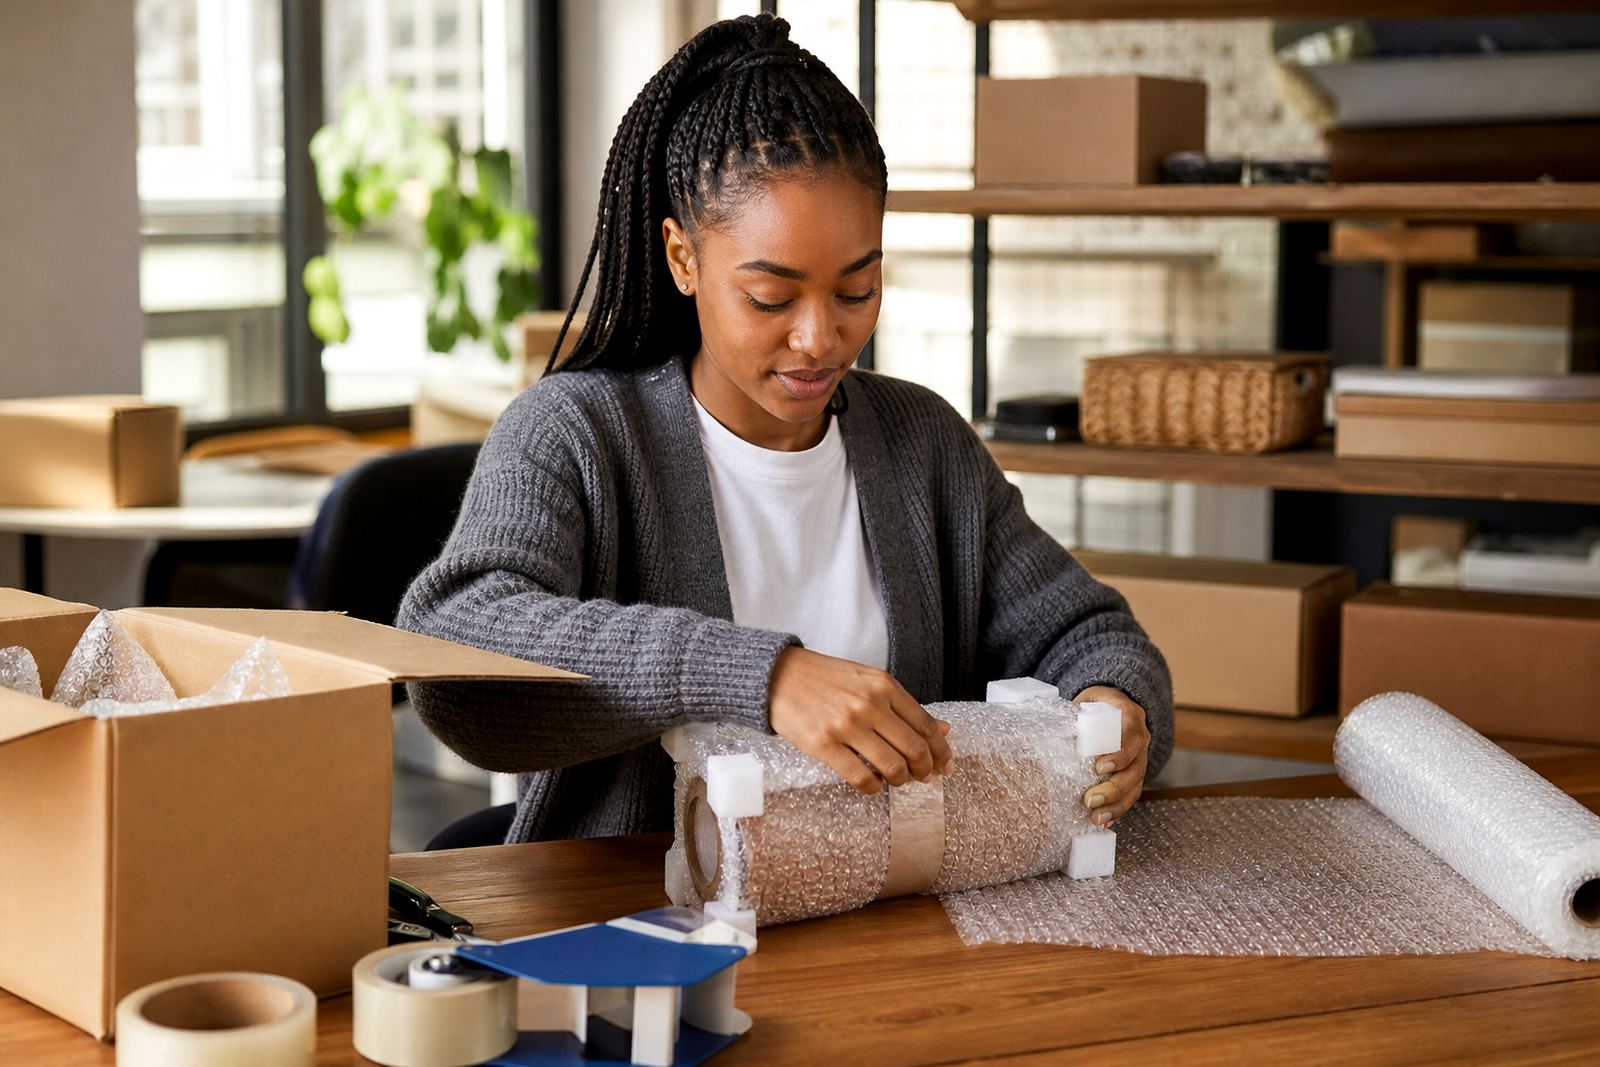
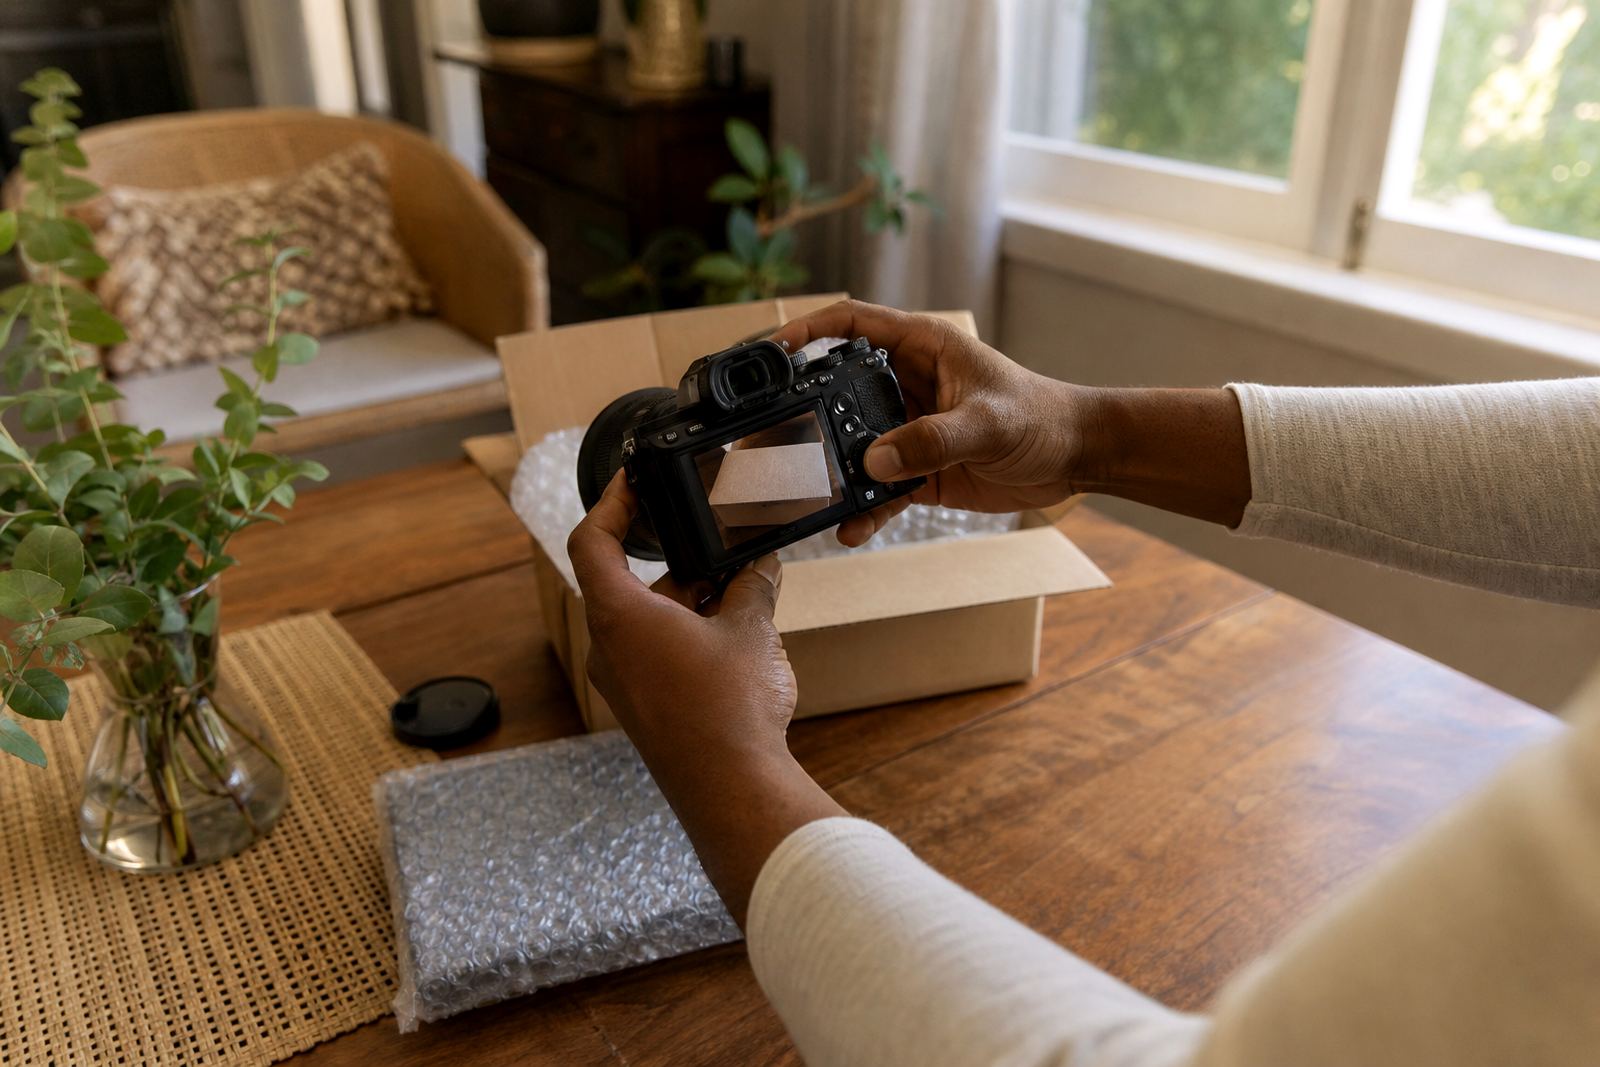
Start with the outside of the parcel before it is opened. Photograph the label, the sealing tape, any dents, wet spots or torn corners, and the parcel from more than one angle. Then take a picture of the item still packed, especially if there is protective material inside. After that, photograph the item itself once it is removed from the packaging.
If the transaction involves a service rather than a physical product, use photos to show progress and completion stages. For example, if a freelancer is delivering printed material, take pictures of the final output, the file names or version markers, and any packaging used for collection. For a custom item, show the finished piece next to the brief or measurement note where possible.
- Photograph the parcel before opening it
- Take close-ups of damage, wear or missing parts
- Capture the item from several angles, not just one
- Keep one wide shot that shows the full item and surroundings
- Repeat the same angles if the item is later disputed
Make timestamps useful, not confusing
Timestamps are most helpful when they show that the photo was taken close to delivery or opening. Use the camera date and time feature on the device, and make sure the clock is correct before the parcel arrives. If the item is collected from a courier depot in Sandton or delivered to an office in Midrand, take the photos as soon as you receive it, not hours later after the packaging has been moved or thrown away.
If your phone stores location data, that can also help, but do not rely on it alone. A timestamp and a clear image are better than a location pin on its own. If the condition of the parcel changes after opening, keep the earlier photos so there is a clean record of how the item arrived. It is a simple habit and it avoids a lot of debate.
When both parties agree on an inspection period, try to record the opening time within that window. That way the evidence lines up with the release request and any support query can be handled more cleanly.
What to capture for common delivery problems
Different problems call for different proof. A missing accessory needs a photo of the main item and a photo showing the accessory tray or box insert. A wrong item needs the label, model markings or other identifying detail. A damaged item needs a clear close-up of the fault and a wider shot that shows the item in full. If the issue is incomplete work, capture the unfinished sections against the original order details.
Keep the photo set focused and practical. Too many random pictures can hide the useful ones. A small bundle of clear images is usually better than a long gallery of unrelated shots. The aim is not to create a photo album, it is to show evidence that can be checked against the agreement.
- Wrong item: show the label, serial or model marker
- Damage: show the fault close up and the full item
- Missing accessories: show the box contents and empty spaces
- Incomplete work: show what is finished and what is not
- Scope difference: show the agreed brief beside the delivered result
Avoid the small mistakes that weaken your proof
A picture can be real and still be unhelpful if it is too dark, too far away or taken at an awkward angle. Use natural light where you can, but avoid glare from a window or overhead light bouncing off shiny surfaces. If the item is small, move closer and steady the phone with both hands. If the item is large, step back enough to show the whole piece and then take close-ups of the problem area.
Do not crop out the background so much that the image loses context. A photo of a cracked item taken on a clean table is better than a tight crop that makes it impossible to tell which side is damaged. Also, do not edit the image in a way that changes the appearance of the item. Basic brightness correction is usually fine, but filters and heavy touch-ups can create doubt.
One practical tip: name or sort the files in the order they were taken. That makes it easier to explain the sequence if the support team asks for more detail. Small things matter, especially when a dispute turns on whether the item was already damaged on arrival.
An escrow deal that closed in Johannesburg
Imagine a buyer in Randburg receives a parcel from a seller in Pretoria. The outside box looks fine, but the buyer notices that one accessory is missing and the main item has a scratch near the edge. If the buyer takes photos of the sealed parcel, then the unpacking, then the missing compartment and the scratch in good light, the evidence is much easier to review than a vague message saying the order was incomplete.
The same applies in reverse. If a seller sends a well-packed item and the buyer later says it arrived damaged, the seller can point to the condition before dispatch, the protective wrapping and the sealed parcel. Clear evidence helps separate real delivery issues from misunderstandings about handling after arrival. In a busy city where couriers often move parcels through several hands, that record is worth keeping.
For local trades, this can be the difference between a quick release after inspection and a longer dispute process. It also helps support teams deal with queries in a fair and tidy way.
Keep your evidence ready for release or dispute review
Once the delivery is confirmed, keep the photos until the transaction is fully closed. If there is a question about release, a refund process or an inspection period, the image set may still be needed. Save the original files if possible, not only screenshots sent through a chat thread. Original files are usually easier to check because they keep more detail.
If you are unsure how a provider handles evidence, ask for clear guidance and check that any service you use is properly registered where required. Escrow is there to make payment handling safer, but it works best when both sides document the handover properly from the start.
TrustIn supports buyers and sellers across South Africa with practical guidance on delivery checks, item condition review, missing accessories, wrong item support, incomplete work review and evidence submission help. The point is simple: clear photos help good trades close without unnecessary delay.